Char Run cycle
This is a documentation of a short ten-week study about making a character digitally from scratch and having a run cycle animation. This will cover how one takes a sketch from paper and transforms it into a 3d model and then a rigged model. The mediums covered will be Adobe Photoshop, Blender, Substance Painter, and hand-drawn sketching. One uses Blender so they can easily integrate the models, animations, and rigs into game engines like Unity, where they can be used in future installments.
Concepting
to draw the character I first decided on what kind of person I wanted to make, I wanted to go for a more fantasy type of look, and do some fantasy race. I drew four concepts until I chose this one here, I wanted to challenge myself by giving them a cloak-like cape and rags that folded on themselves. In concept, I drew the character as the basic parts, from the skeleton I layered the character until I knew exactly what clothes can and may not be able to be shown. This helps me not just with modeling but with the future task of rigging as well as knowing where exactly the bones are.


Modeling
In modeling the character we start at the basics of the body, with the legs and the torso. To see what we are doing we have the reference squared up on the axis, and when modeling we turn the X-ray mode on so we can see if we have any vertices that we can not see in the way of building the model. We attempt to be as low poly as we can so that when we export it into places like Unity they can render properly without them being too overtaken by other things. We made the clothes, accessories, hair, and others separate from the main mesh, this way we can add more later.


styling
There are many ways of making hair and I have had some trouble about which style to go for, in the sketch we have a mess of hair, and we wanted to somehow convey that messiness to a 3D model. Overall we chose to use path nodes to give us those iconic anime like hair that some people like.


Rigging
One of the most time-consuming parts of the ordeal of creating the character is the rigging and weight painting process, so we have to make sure the character is properly aligned, add bones based on how expressive you want the character, and go into weight painting mode to determine how many vertices a bone can deform. Overall there are many ways to add a rig, with the advent of more advanced tech it can be done seemingly in seconds, however, at times it is sloppy and will create a mess of things. We made the bones by hand trying to keep them accurate to the sketch, we added the deformations of the other meshes later so when they do get deformed eventually they can be a bit more accurate.


Painting
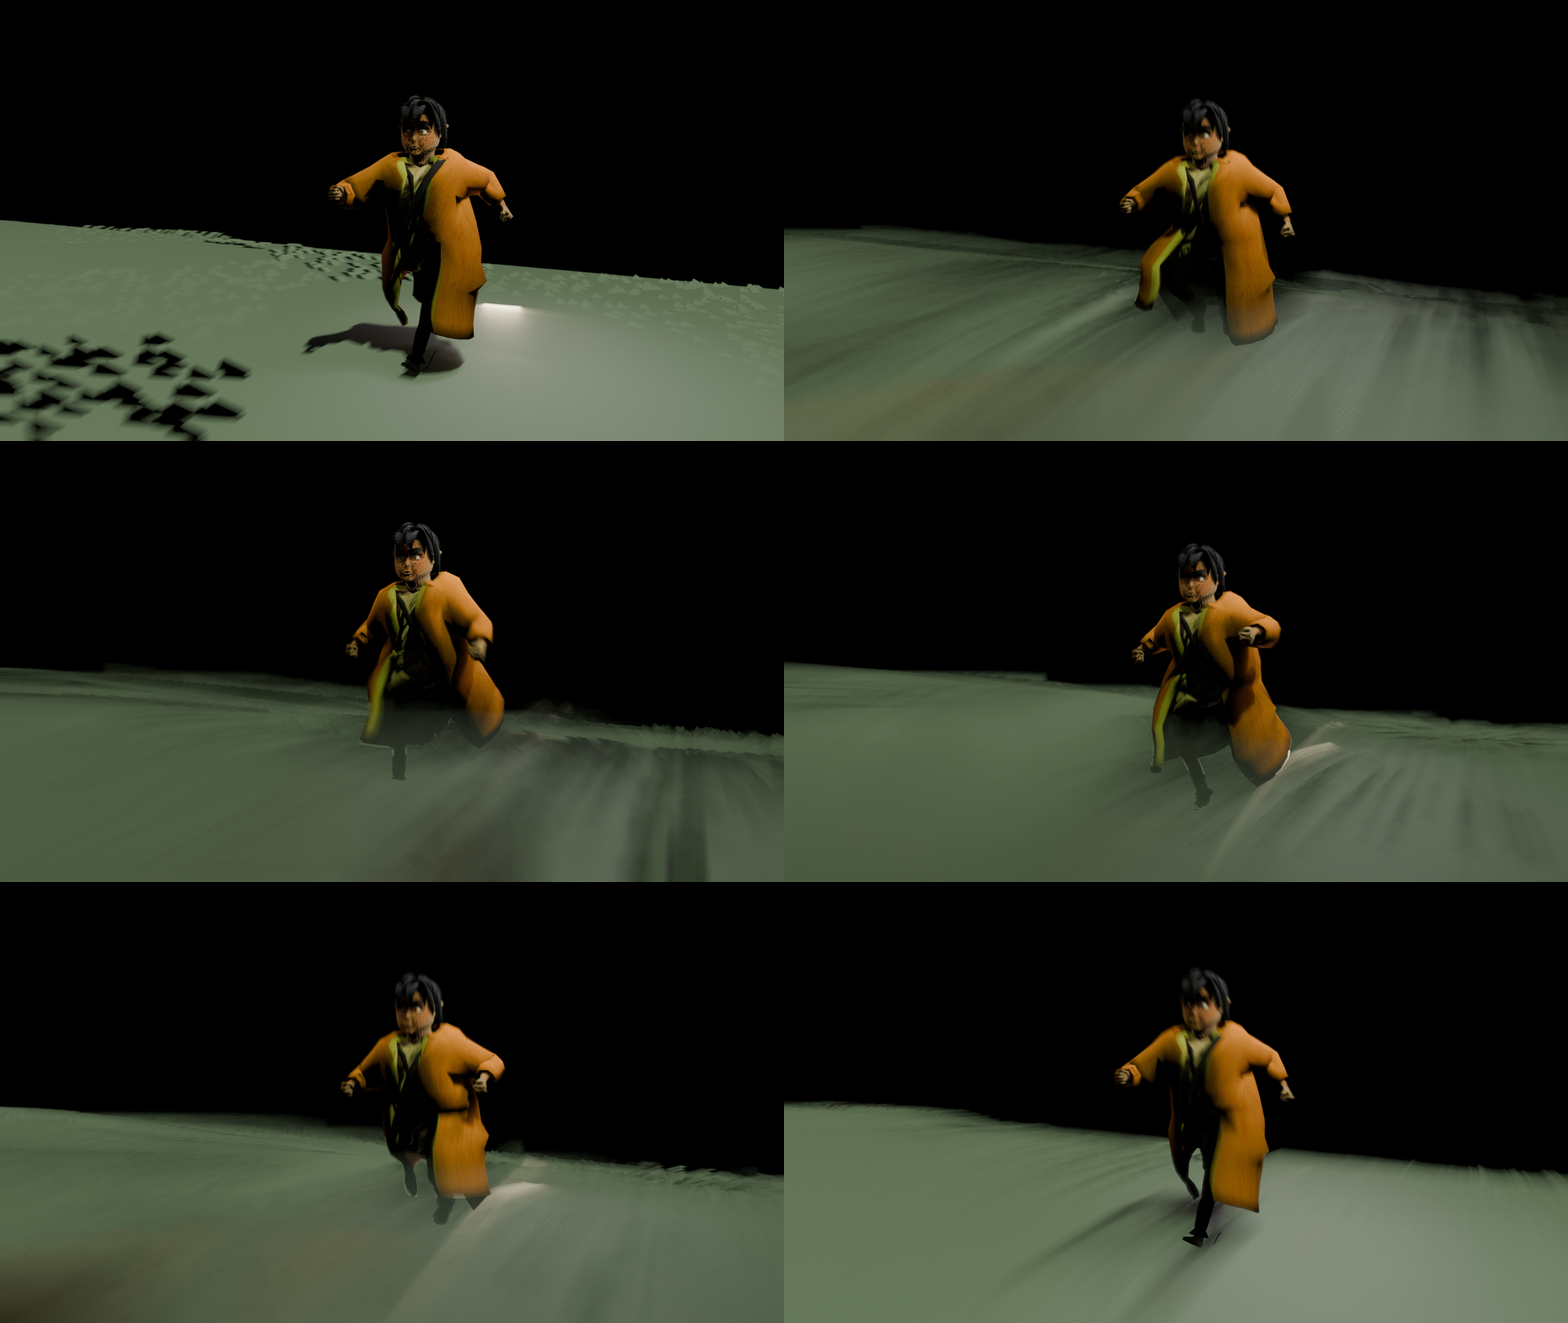
For painting, we used Substance Painter, this is a high CPU option, and I used a pc, not very recommended. For painting we tried going for this earthly look, somewhat keeping true to the original sketches. The colors and amount were decided for in the conception stage and later we posed the animation of the run cycle to see if there were any errors with the paintings.


